 To change the font size of individual items in Windows 7 requires a bit of digging.
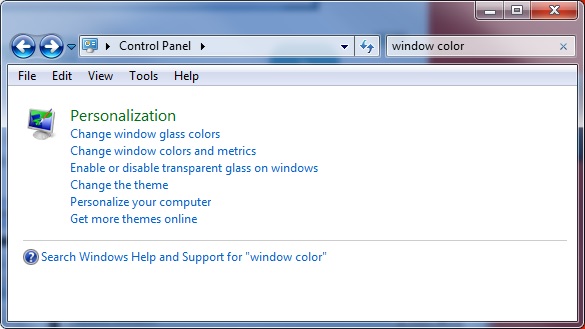
First go to the Start menu, and choose Control Panel. When this window opens, type window color in the Search Control Panel box near the top right-hand corner of the window. From the options that appear, click the second one, Change window color and metrics
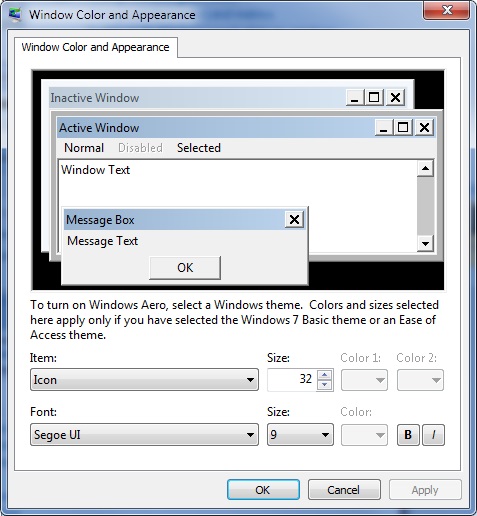 The window that opens up willl have multiple options for adjusting the size and color of various parts of Windows, from window color, to icon size, and the text used for each part of the windows display. In this case, we are interested in the Item drop-down menu. Click that menu, find Icon in the list, and then click on it. The window will then look similar to the one on this page. We suggest to leave the Font: menu as is; changing the specific font that Windows uses can sometimes cause problems with other program. The Size menu will be where you want to make an adjustment. Click the Size menu, select a number, and click on it. Once the new number is selected, click Apply. Windows will take a moment to make the change, during which the screen will dim slightly. Once you are happy with the text size for the icons, click OK to close the window.